Translate

Saturday, September 20, 2014

Super Hero Baby Shower Gift

Memory Box

I have spent the summer working on future events, and could not post any pictures before the actual event.

For this Baby Shower, the theme of the Nursery and the Shower was Super Heroes. 


I created embroidery files for my Sister, who owns a Viking embroidery machine, for one of her signature quilts.   I turned those files into graphics for a Super Hero Memory Box.  We often coordinate gifts.  Here are pics of the front and back of her quilt:

I use a 14 inch round Kraft box.   Next,  I design graphics to fit the dimensions of the box.  I have a printer that prints 13 inches wide, and I use matte coated paper 13 x 19 inches.  Below is the design printed out.


I use Artist's Matte Medium (as glue) and a 'credit card' to apply to the box.  The 'credit card' is the absolute best tool for smoothing paper over a glue.  Believe me,  I have tried every type of adhesive, but the Matte Medium provides the best permanent adhesive.  I also use the matte medium as a top coating.  It is very durable.  Below are photos of the covered box.


Box with Lid


 Box Lid


Box Interior


I have been giving the Boxes, at Baby Showers, for 15 years.  The  Moms come back years later and tell me how much they love it.  It keeps 'little memories' safe and in one place.

Monday, May 12, 2014

Painted Canvas Screen

Mother's Day Gift

Once again, I made this for my Daughter-in-Law.  This was a Mother's Day Gift, and I was a little nervous about whether she would like it.  She did.  I had purchased the canvas screen for $30 from Garden Ridge.  It had a hideous pattern in orange and blues, but I knew Bin Primer/Sealer would do away with that quickly.  I have been experimenting with chalk paint and waxes, and used these also.


 INSTRUCTIONS:
  1. Paint with Bin Primer/Sealer.
  2. Stencil the daisies with Dry Wall Compound.  I made big daisy stencils in 14" and 12" sizes.
  3. Using the wall color (that I added Plaster of Paris to make chalk paint) paint the screen.  
  4. Randomly stencil, using a Tim Holtz burlap stencil, in dark grey.    
  5. Paint the daisies white and yellow.
  6. Apply a coat of  furniture wax (like Formby's or Ana White).  Follow can/jar instructions.
  7. Go over with a dark wax, applying and rubbing off, as desired.
Steps 6 and 7 can be done by spraying with satin polyurethane, and then using an Antiquing method.


Tuesday, April 29, 2014

It's Spring, and Baseball is in the Air


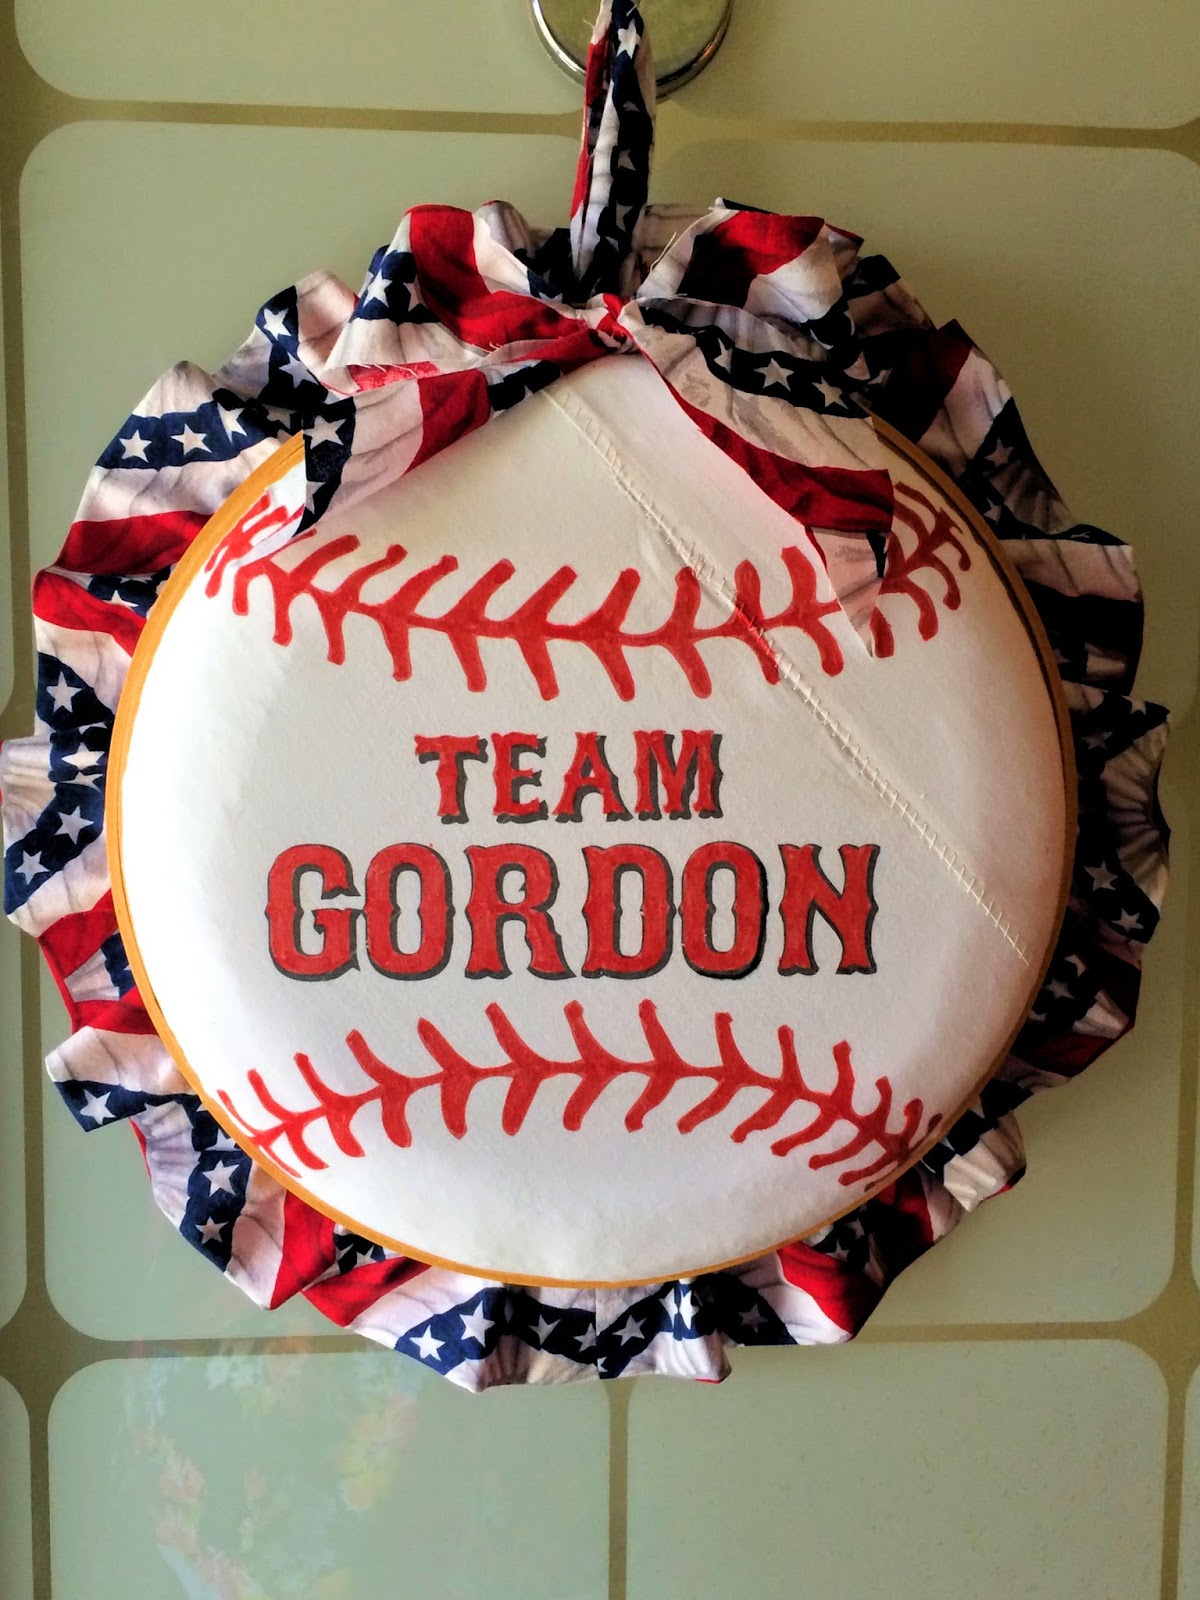
Just a quick wreath for my grandkids.  They started with baseball two months ago, in February. 
  • I used a 12 inch embroidery hoop, a circle of white fabric about 16 inches round.  
  • A red and black marker. 
  • Three 8 inch wide fabric strips ruffled (I sewed three fabric widths together and then folded and ironed it for a 4 inch ruffle. 
  • A 12 inch styrofoam wreath, for the baseball's 3D look.
I printed mine on 11 x 14" printable fabric, hence the seam.  Then I went back with the markers to darken.  I laid the fabric on the wreath form, and slid the hoop down over, and tightened.  I sprayed styrofoam adhesive on the back of the wreath form, and stuck the ruffle to the form.  I added straight pins as I went around.  Be careful, that styrofoam adhesive is stickeeee.